User Management
Immich supports multiple users, each with their own library.
Register the Admin User
The first user to register will be the admin user. The admin user will be able to add other users to the application.
To register for the admin user, access the web application at http://<machine-ip-address>:2283 and click on the Getting Started button.
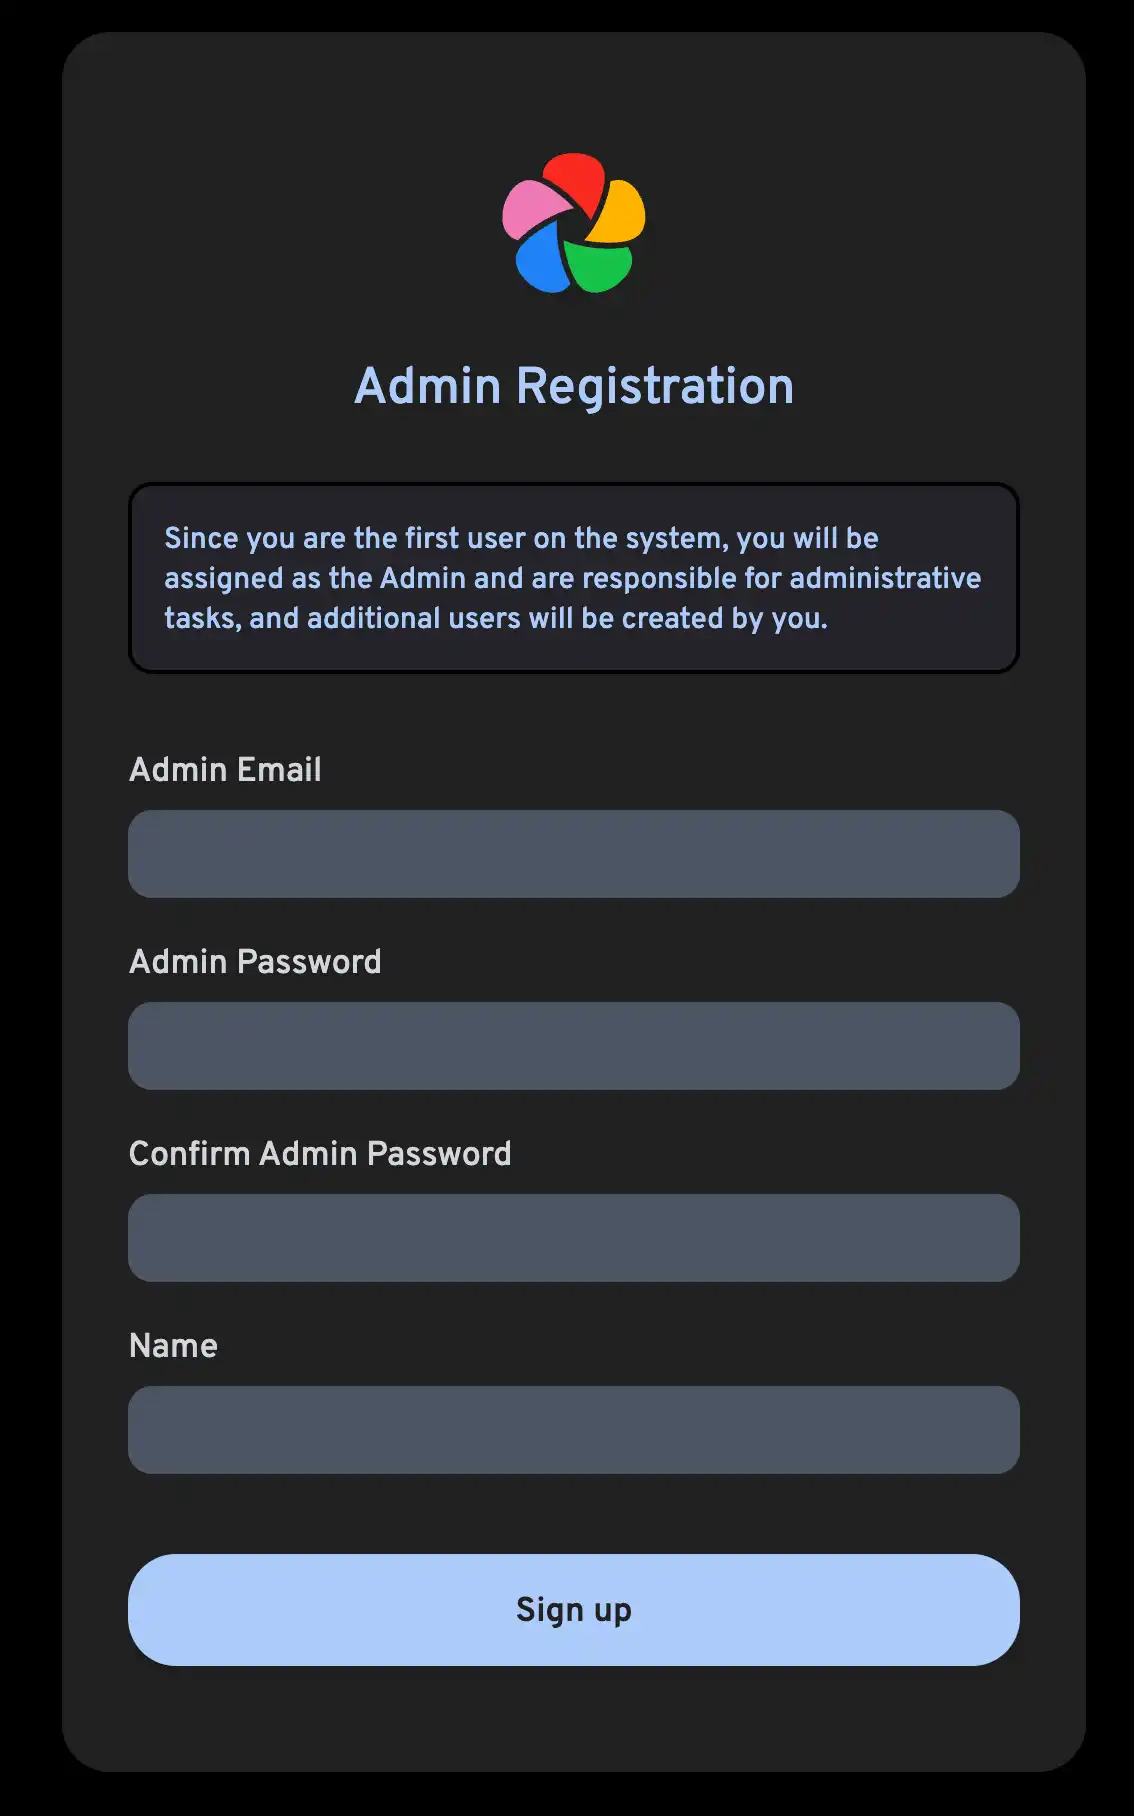
Follow the prompts to register as the admin user and log in to the application.
Create a New User
If you have friends or family members who want to use the application as well, you can create additional accounts for them.

In the Administration panel, you can click on the Create user button, and you'll be presented with the following dialog:
Send new user email notification
This option is only available if an SMTP server has been configured in the administrator settings.
Admin can send a welcome email if the Email option is set, you can learn here how to set up the SMTP server in Immich.
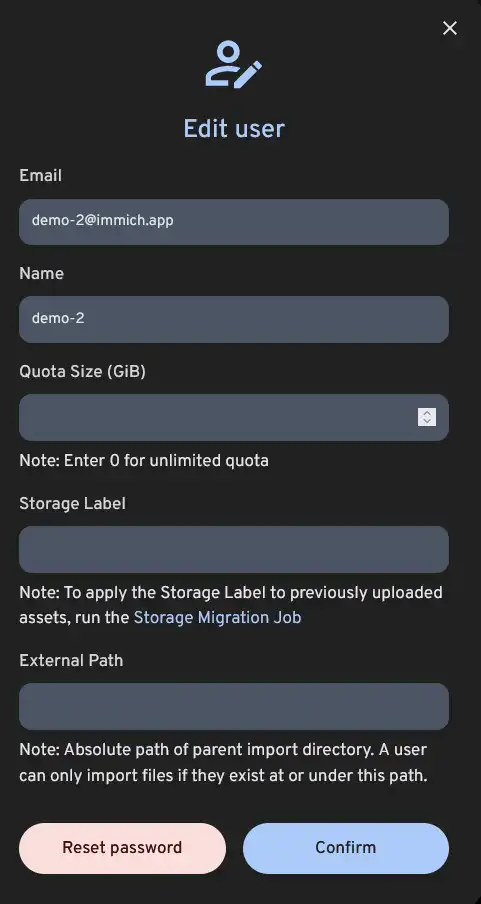
Set Storage Quota For User
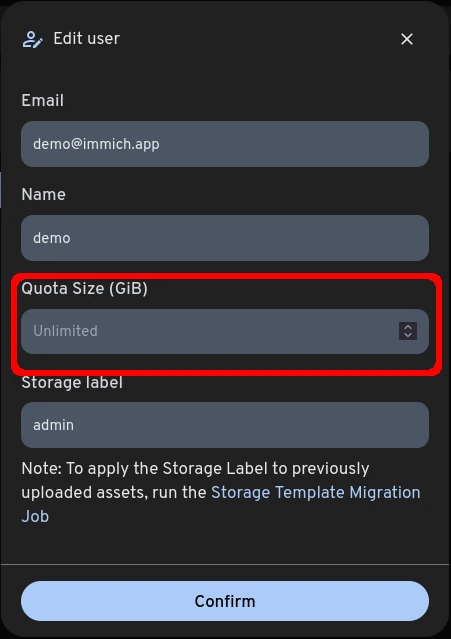
Admin can specify the storage quota for the user as the instance's admin; once the limit is reached, the user won't be able to upload to the instance anymore.
In order to select a storage quota, click on the pencil icon and enter the storage quota in GiB. You can choose an unlimited quota by leaving it empty (default).
The system administrator can see the usage quota percentage of all users in Server Stats page.
External libraries don't take up space from the storage quota.
Set Storage Label For User
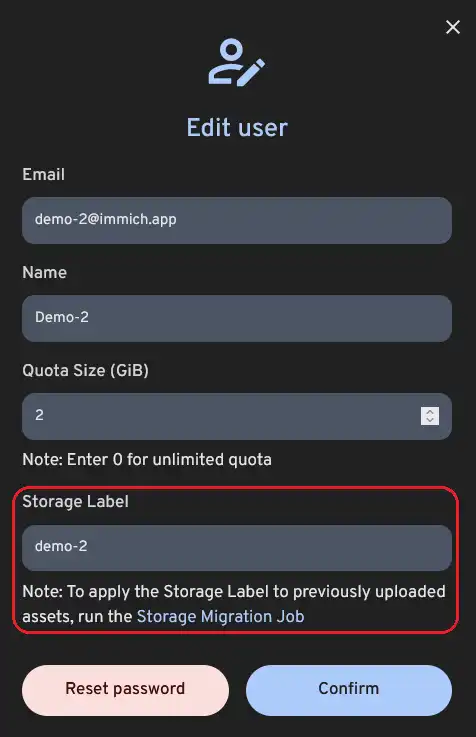
The admin can add a custom label for each user, so instead of upload/{userId}/your-template it will be upload/{custom_user_label}/your-template.
To apply a storage template, go to the Administration page -> click on the pencil button next to the user.
To apply the Storage Label to previously uploaded assets, run the Storage Migration Job.
Password Reset
To reset a user's password, click the pencil icon to edit a user, then click "Reset Password". The user's password will be reset to random password and they have to change it next time the sign in.
Delete a User
If you need to remove a user from Immich, head to "Administration", where users can be scheduled for deletion. The user account will immediately become disabled and their library and all associated data will be removed after 7 days by default.
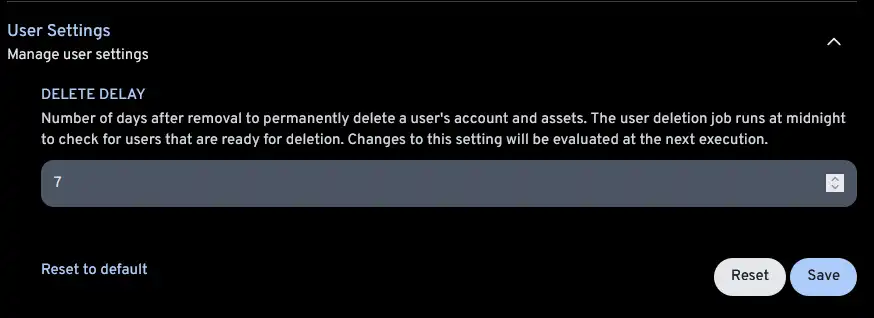
Delete Delay
You can customize the time of the deletion of the users from the Administration -> Settings -> User Settings.
The user deletion job runs at midnight to check for users that are ready for deletion. Changes to this setting will be evaluated at the next execution.
Immediately Remove User
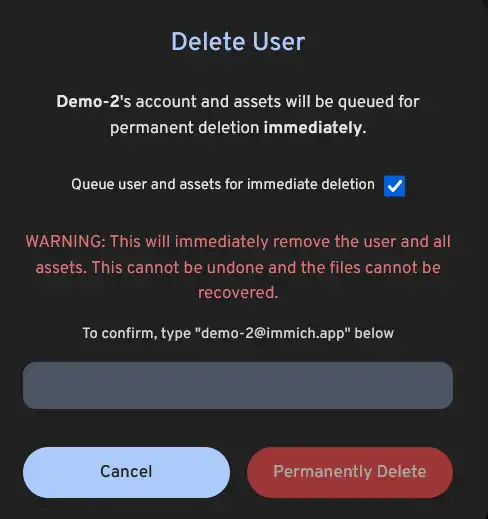
You can choose to delete a user immediately by checking the box
Queue user and assets for immediate deletion in the deletion process, this will immediately remove the user and all assets.
This cannot be undone and the files cannot be recovered.
