External Libraries
External libraries track assets stored in the filesystem outside of Immich. When the external library is scanned, Immich will load videos and photos from disk and create the corresponding assets. These assets will then be shown in the main timeline, and they will look and behave like any other asset, including viewing on the map, adding to albums, etc. Later, if a file is modified outside of Immich, you need to scan the library for the changes to show up.
If an external asset is deleted from disk, Immich will move it to trash on rescan. To restore the asset, you need to restore the original file. After 30 days the file will be removed from trash, and any changes to metadata within Immich will be lost.
If you add metadata to an external asset in any way (i.e. add it to an album or edit the description), that metadata is only stored inside Immich and will not be persisted to the external asset file. If you move an asset to another location within the library all such metadata will be lost upon rescan. This is because the asset is considered a new asset after the move. This is a known issue and will be fixed in a future release.
Due to aggressive caching it can take some time for a refreshed asset to appear correctly in the web view. You need to clear the cache in your browser to see the changes. This is a known issue and will be fixed in a future release. In Chrome, you need to open the developer console with F12, then reload the page with F5, and finally right click on the reload button and select "Empty Cache and Hard Reload".
Import Paths
External libraries use import paths to determine which files to scan. Each library can have multiple import paths so that files from different locations can be added to the same library. Import paths are scanned recursively, and if a file is in multiple import paths, it will only be added once. Each import file must be a readable directory that exists on the filesystem; the import path dialog will alert you of any paths that are not accessible.
If the import paths are edited in a way that an external file is no longer in any import path, it will be removed from the library in the same way a deleted file would. If the file is moved back to an import path, it will be added again as if it was a new file.
Troubleshooting
Sometimes, an external library will not scan correctly. This can happen if Immich can't access the files. Here are some things to check:
- In the docker-compose file, are the volumes mounted correctly?
- Are the volumes also mounted to any worker containers?
- Are the import paths set correctly, and do they match the path set in docker-compose file?
- Make sure you don't use symlinks in your import libraries, and that you aren't linking across docker mounts.
- Are the permissions set correctly?
- Make sure you are using forward slashes (
/) and not backward slashes.
To validate that Immich can reach your external library, start a shell inside the container. Run docker exec -it immich_server bash to a bash shell. If your import path is /mnt/photos, check it with ls /mnt/photos. If you are using a dedicated microservices container, make sure to add the same mount point and check for availability within the microservices container as well.
Exclusion Patterns
By default, all files in the import paths will be added to the library. If there are files that should not be added, exclusion patterns can be used to exclude them. Exclusion patterns are glob patterns are matched against the full file path. If a file matches an exclusion pattern, it will not be added to the library. Exclusion patterns can be added in the Scan Settings page for each library.
Some basic examples:
**/*.tifwill exclude all files with the extension.tif**/hidden.jpgwill exclude all files namedhidden.jpg**/Raw/**will exclude all files in any directory namedRaw**/*.{tif,jpg}will exclude all files with the extension.tifor.jpg
Special characters such as @ should be escaped, for instance:
**/\@eaDir/**will exclude all files in any directory named@eaDir
Internally, Immich uses the glob package to process exclusion patterns, and sometimes those patterns are translated into Postgres LIKE patterns. The intention is to support basic folder exclusions but we recommend against advanced usage since those can't reliably be translated to the Postgres syntax. Please refer to the glob documentation for a basic overview on glob patterns.
Automatic watching (EXPERIMENTAL)
This feature is considered experimental and for advanced users only. If enabled, it will allow automatic watching of the filesystem which means new assets are automatically imported to Immich without needing to rescan.
If your photos are on a network drive, automatic file watching likely won't work. In that case, you will have to rely on a periodic library refresh to pull in your changes.
Troubleshooting
If you encounter an ENOSPC error, you need to increase your file watcher limit. In sysctl, this key is called fs.inotify.max_user_watches and has a default value of 8192. Increase this number to a suitable value greater than the number of files you will be watching. Note that Immich has to watch all files in your import paths including any ignored files.
ERROR [LibraryService] Library watcher for library c69faf55-f96d-4aa0-b83b-2d80cbc27d98 encountered error: Error: ENOSPC: System limit for number of file watchers reached, watch '/media/photo.jpg'
In rare cases, the library watcher can hang, preventing Immich from starting up. In this case, disable the library watcher in the configuration file. If the watcher is enabled from within Immich, the app must be started without the microservices. Disable the microservices in the docker compose file, start Immich, disable the library watcher in the admin settings, close Immich, re-enable the microservices, and then Immich can be started normally.
Nightly job
There is an automatic scan job that is scheduled to run once a day. Its schedule is configurable, see Set Custom Scan Interval.
This job also cleans up any libraries stuck in deletion. It is possible to trigger the cleanup by clicking "Scan all libraries" in the library management page.
Usage
Let's show a concrete example where we add an existing gallery to Immich. Here, we have the following folders we want to add:
/home/user/old-pics: a folder containing childhood photos./mnt/nas/christmas-trip: photos from a christmas trip. The subfolder/mnt/nas/christmas-trip/Rawcontains the raw files directly from the DSLR. We don't want to import the raw files to Immich/mnt/media/videos: Videos from the same christmas trip.
First, we need to plan how we want to organize the libraries. The christmas trip photos should belong to its own library since we want to exclude the raw files. The videos and old photos can be in the same library since we want to import all files. We could also add all three folders to the same library if there are no files matching the Raw exclusion pattern in the other folders.
Mount Docker Volumes
The immich-server container will need access to the gallery. Modify your docker compose file as follows
  immich-server:
    volumes:
      - ${UPLOAD_LOCATION}:/data
+     - /mnt/nas/christmas-trip:/mnt/media/christmas-trip:ro
+     - /home/user/old-pics:/mnt/media/old-pics:ro
+     - /mnt/media/videos:/mnt/media/videos:ro
+     - /mnt/media/videos2:/mnt/media/videos2 # WARNING: Immich will be able to delete the files in this folder, as it does not end with :ro
+     - "C:/Users/user_name/Desktop/my media:/mnt/media/my-media:ro" # import path in Windows system.
The ro flag at the end only gives read-only access to the volumes.
This will disallow the images from being deleted in the web UI, or adding metadata to the library (XMP sidecars).
Remember to run docker compose up -d to register the changes. Make sure you can see the mounted path in the container.
Create A New Library
These actions must be performed by the Immich administrator.
- Click on your avatar in the upper right corner
- Click on Administration -> External Libraries
- Click on Create an external library…
- Select which user owns the library, this can not be changed later
- Enter
/mnt/media/christmas-tripthen click Add - Click on Save
- Click the drop-down menu on the newly created library
- Click on Scan
- Click the drop-down menu on the newly created library
- Click on Rename Library and rename it to "Christmas Trip"
NOTE: We have to use the /mnt/media/christmas-trip path and not the /mnt/nas/christmas-trip path since all paths have to be what the Docker containers see.
Next, we'll add an exclusion pattern to filter out raw files.
- Click the drop-down menu on the newly-created Christmas library
- Click on Manage
- Click on Scan Settings
- Click on Add Exclusion Pattern
- Enter
**/Raw/**and click save. - Click save
- Click the drop-down menu on the newly created library
- Click on Scan
The christmas trip library will now be scanned in the background. In the meantime, let's add the videos and old photos to another library.
- Click on Create External Library.
If you get an error here, please rename the other external library to something else. This is a bug that will be fixed in a future release.
- Click the drop-down menu on the newly created library
- Click Edit Import Paths
- Click on Add Path
- Enter
/mnt/media/old-picsthen click Add - Click on Add Path
- Enter
/mnt/media/videosthen click Add - Click Save
- Click on Scan
Within seconds, the assets from the old-pics and videos folders should show up in the main timeline.
Folder view
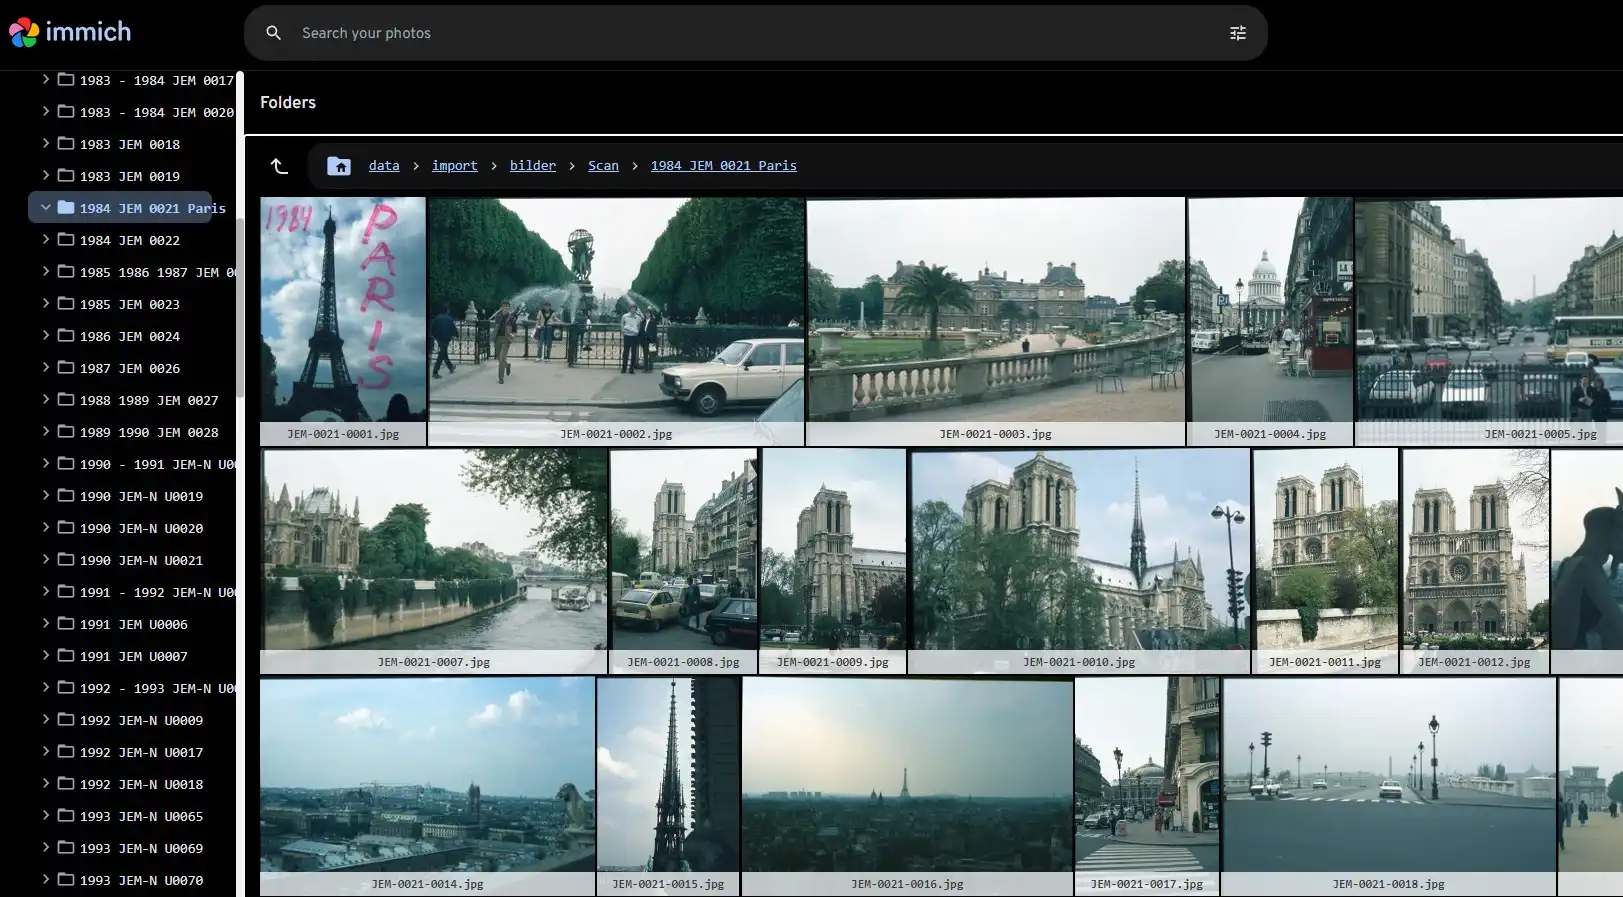
Folder view provides an additional view besides the timeline that is similar to a file explorer. It allows you to navigate through the folders and files in the library. This feature is handy for a highly curated and customized external library or a nicely configured storage template.
You can enable this feature under Account Settings > Features > Folders

Set Custom Scan Interval
Only an admin can do this.
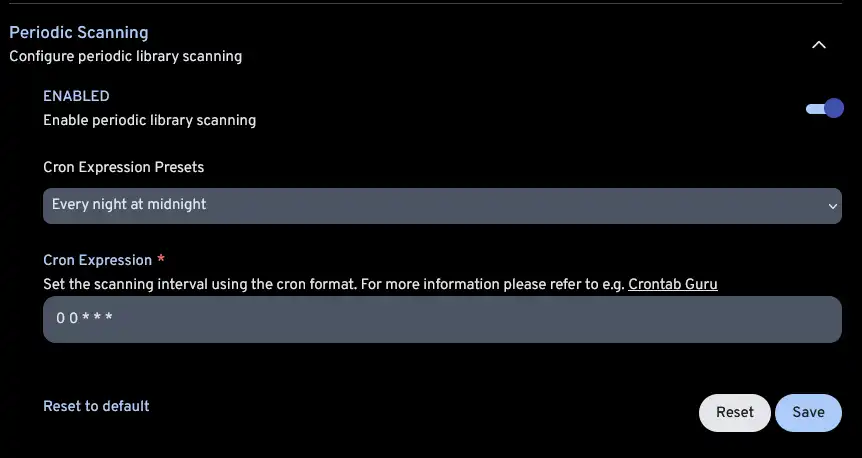
You can define a custom interval for the trigger external library rescan under Administration -> Settings -> External Library.
You can set the scanning interval using the preset or cron format. For more information you can refer to Crontab Guru.
